Congratulations on starting your journey to better sleep
When it comes to sleep apnea, the fit of a mask can make or break a good night’s sleep. Now that you've been scanned with Philips Mask Selector 3D, you can rest easy knowing that your DreamWear mask with Precise-Fit Nasal Cushion has specifically been selected to fit your unique facial features.
Getting started
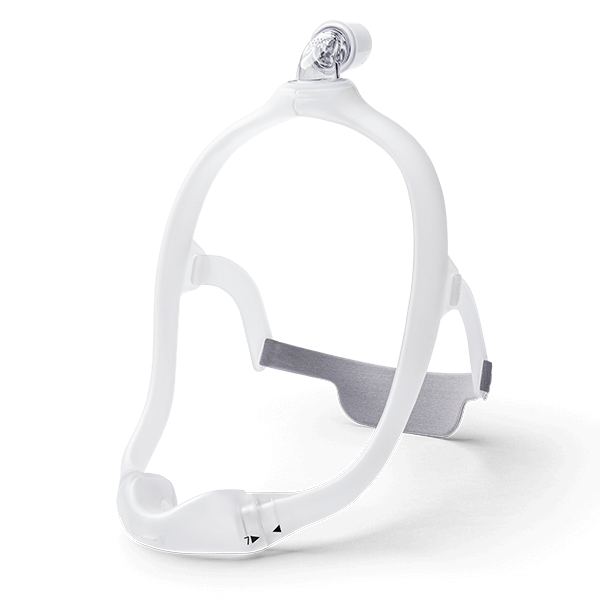
Remove the items from their packaging.
Since your healthcare professional has already scanned you with Mask Selector 3D and determined your precise-fit cushion size, you can discard the sizing gauge that's attached to the mask.
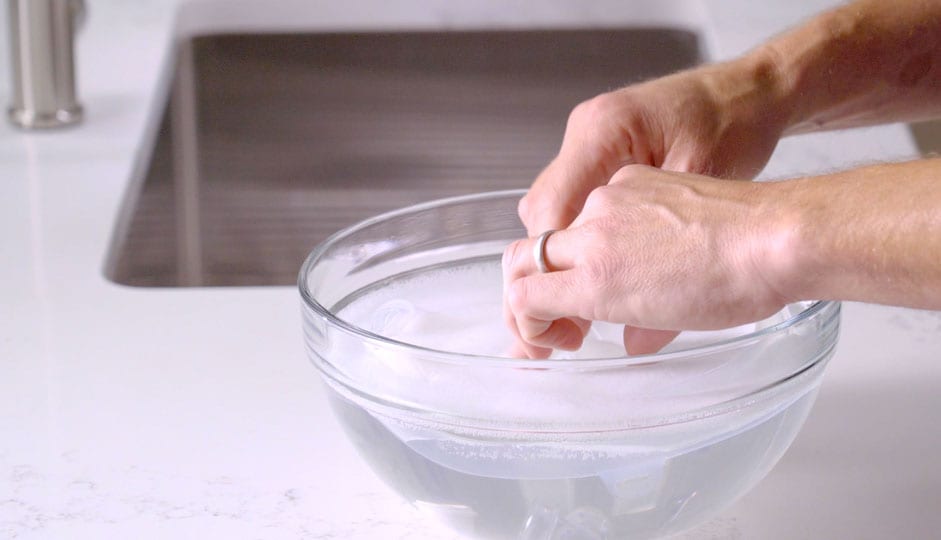
Hand wash all parts in mild dishwashing liquid and let them completely air dry.
Have a product question?
We're here to help
How-to videos
Information on how to assemble, adjust, wear, and clean your DreamWear mask.
Sizing and assembling
Wearing and adjusting
Disassembling and cleaning
DreamWear mask fitting guide
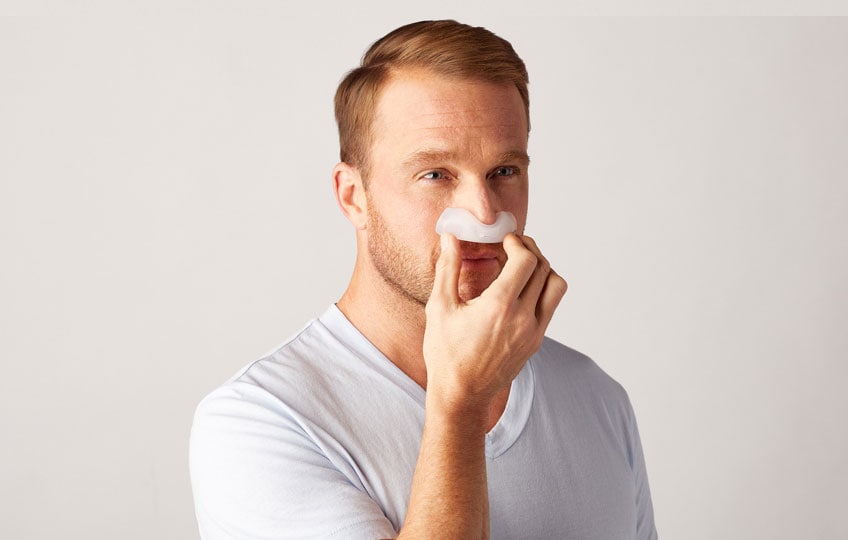
Step 1
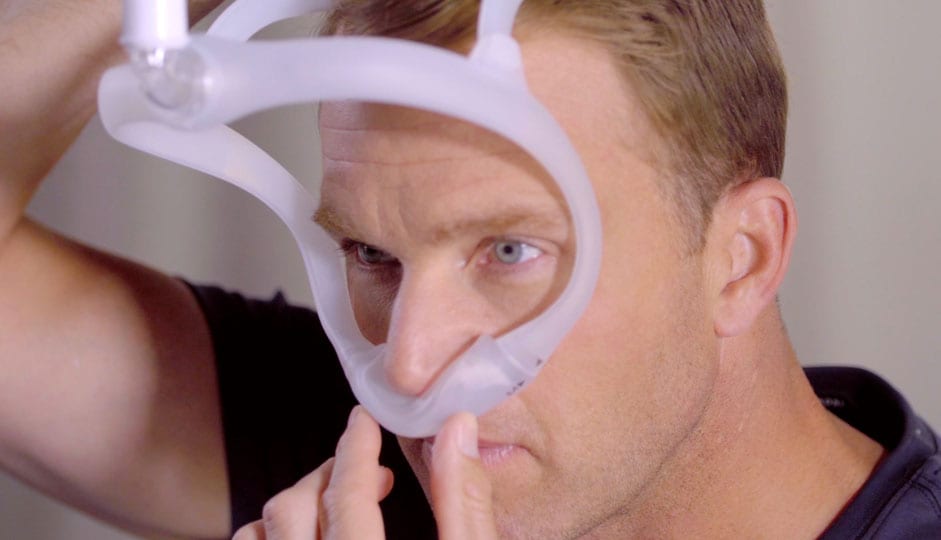
The cushion opening will be directly under the nostrils. Note: At no time should the nose be inside the cushion opening. If any part of the cushion overlaps the nose, the cushion is being worn incorrectly.
Step 2
With the mask assembled, place the cushion under the nose. The cushion will hug the nose and leak will be minimal.

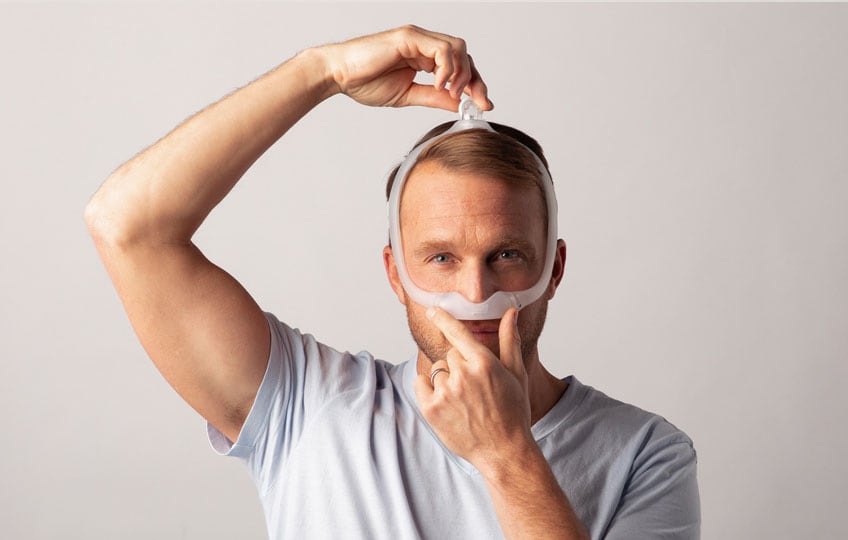
Step 3
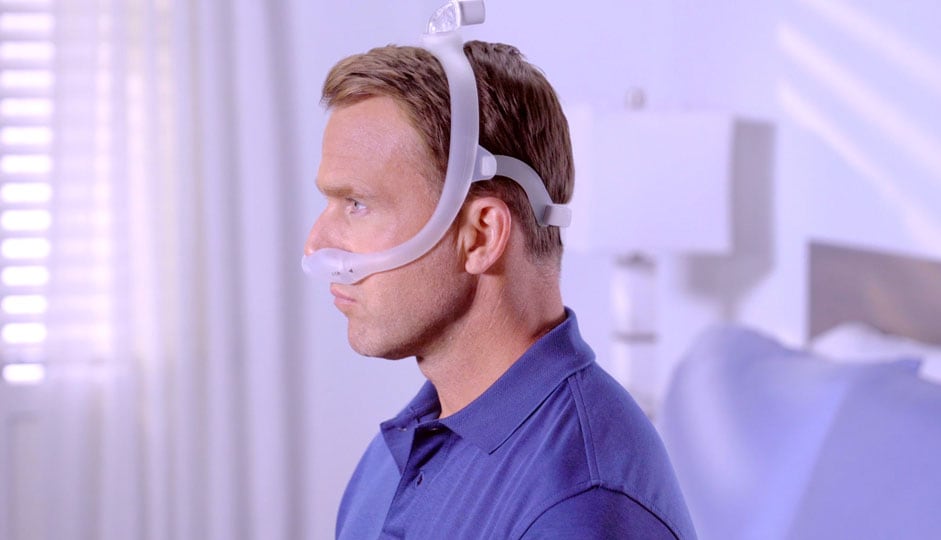
Position the frame on the top of your head. Pull the headgear over the back of your head.
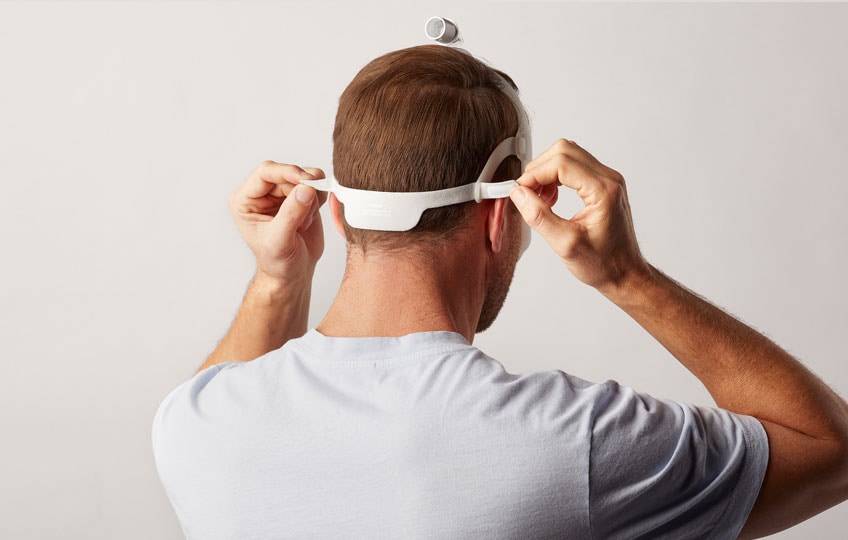
Step 4
To adjust the mask, peel the headgear tabs away from the fabric. Adjust the straps length. Press the tabs back against the fabric to reattach. Note: Do not overtighten the headgear.
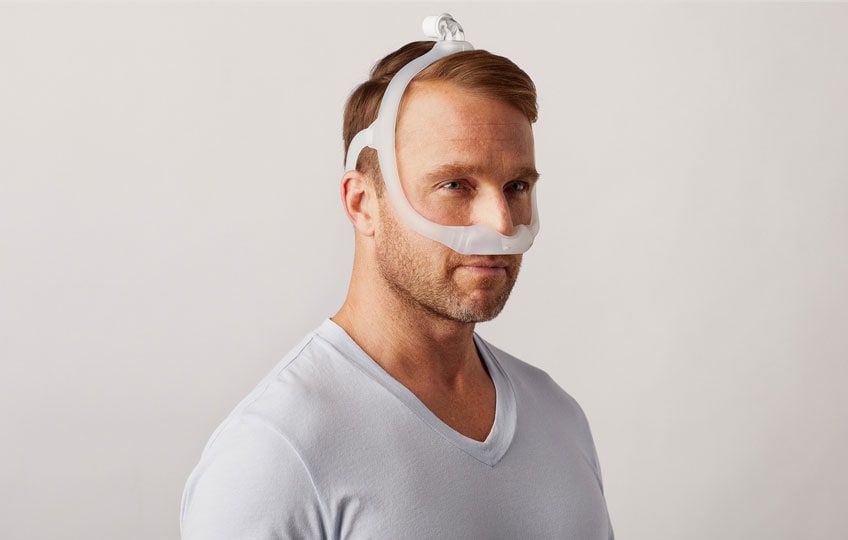
Step 5
Position the mask until it fits comfortably. When finished, the elbow should rest at the top of your head.
Frequently asked questions
- How do I know I am putting on the headgear with arms correctly?
-
For easy orientation note the L & R symbol on the arms. Loop the tab with the L symbol through the left side loop on the frame and R on the right side. Once correctly assembled the L&R symbols will face outwards, DreamWear logo on the fabric will be on the right & Philips Respironics logo will be on the back of the headgear.
You can also watch the “how to size & assemble the mask” video on YouTube.
Please refer to the instruction for use for more detailed information regarding the use of your device
- How do I clean my headgear with arms?
-
Weekly hand-wash the headgear with arms with a mild detergent / soap. Do not place the headgear into a clothes dryer. Follow the instruction for use manual for more details
You can also watch the “how to disassemble & clean the mask” video on YouTube.
Please refer to the instruction for use for more detailed information regarding the use of your device
- I like my all fabric headgear, where can I get that?
-
The all fabric headgear is also available for use on DreamWear Nasal & Silicone Pillows mask, please contact your local homecare provider for more details.
- My DreamWear mask leaks, how can I fix it?
-
DreamWear nasal comes in 3 frames & 4 cushion sizes. If you are experiencing leaks with the mask, contact your local homecare provider to try a smaller frame and/or cushion size.
Additionally, we have also launched an updated slip resistant headgear with arms which may improve mask seal & overall stability.
- Is it on DreamMapper?
-
All DreamWear masks are supported by the DreamMapper sleep apnea app.
- If a person lays on their side and closes off one side of the tubing, will the mask still provide therapy? Will it create a pressure spike?
-
The mask will continue to provide the prescribed therapy. Every other mask on the market operates with one tube running to the cushion and this mask operates in the same way. No increase of pressure or noise will occur.
- How do I clean the mask?
-
If you remove the headgear, cushion and swivel, the frame is essentially one tube. This can be cleaned the same way the short tubing on other masks or the longer CPAP tubing is cleaned. Wash with warm soapy water, it can be rinsed through the swivel connection as well. Set to dry and if there happens to be any remaining moisture in the tube before therapy is started, connecting it to the CPAP with pressure can help to remove this.
The mask may also be cleaned in the dishwasher once a week. The non-fabric parts can be washed on the top shelf of the dishwasher and air dried. Please refer to the instructions manual that came with the mask.
More from the Dream family
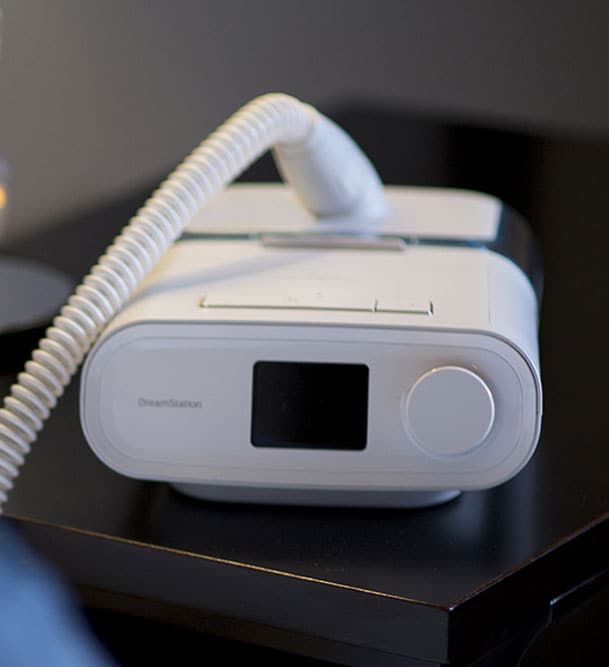
DreamStation sleep therapy system
User-friendly in every possible way
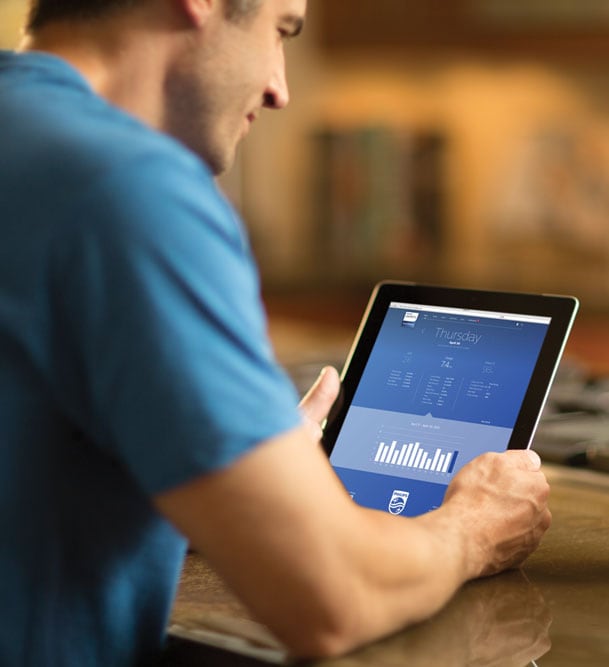
DreamMapper Sleep Apnea App
Gain control, stay motivated, get results
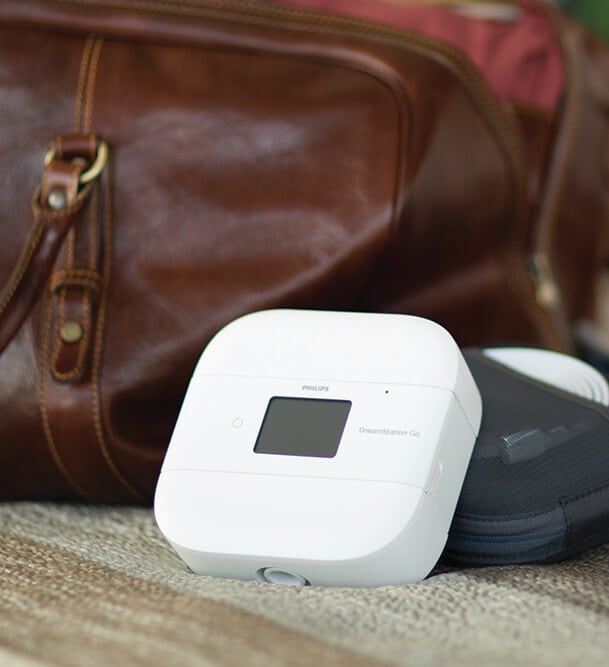
DreamStation Go
A small CPAP – packed for performance
")
")
")
")
")