0

Shopping cart

There are currently no items in your shopping cart.

    Philips Support

    How to improve the picture quality of Philips TV?

    Published on 2016-12-29

    In order to enjoy the highest picture quality available, make sure that your setup complies with the following conditions:

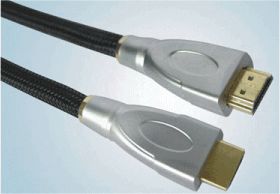
    <li>Connect the signal source by means of a <a href="#HDMI">HDMI cable.
    
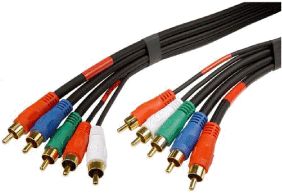
    <li>Verify that the source signal is of High Definition (HD) content, which means either the 1080i or the 1080p video format. 

    Note: If your external device does not have HDMI outputs, the next best option is the YPbPr (also called component or YUV) connection.

    You will only be able to enjoy the full advantages of High Definition content if you connect your external device by means of a HDMI cable.

    Although an analog connection does not offer the same quality, you can still obtain an excellent picture if you observe the following guidelines:

    • Make all your cables as short as possible.
    • Use high quality antenna cable.
    • Connect the plugs well into their sockets.
    • Do not use an antenna cable splitter. Splitting the signal will make it considerably weaker. * Change the picture settings on your TV. The standard configuration is set to match the conditions in a TV shop.

    You can use the smart settings in the TV menu to set your TV to a predefined picture mode that will give you the best picture quality.

    1. Press the [Home] button on the remote control to access the home menu.
    2. Use the [Cursor buttons] to select [Setup] and press the [OK] button to confirm.
    3. Select [Smart setting] and press the cursor [Right].
    4. Press the cursor [Up] or [Down] to select the predefined smart settings according to your preference.
    5. Press the [OK] button to confirm.
    6. Press the [Back] button to exit the menu.
    1. Press the [Home] button on the remote control to access the home menu.
    2. Use the cursor button to select [Setup] and press the [OK] button to confirm.
    3. Select [Picture] and press the cursor [Right] to access the picture menu.
    4. Press the cursor [Up] or [Down] to access the picture settings.
    5. Press the cursor [Right] to select and uses the cursor button to adjust them according to your preferences and press the [OK] button to confirm.
    6. Press the [Back] button to exit the menu.
    • The HDMI is the abbreviation of High-Definition Multimedia Interface.

    • HDMI is one-way connection that connects digital audio/video sources such as a set-top box, an HD DVD disc player, a Blu-ray Disc player, a PC, video game console, or an AV receiver to a compatible digital audio device and/or video monitor such as a digital television (DTV).

    • HDMI makes an uncompressed digital RGB connection from the source to the screen. By eliminating conversion to an analog signal, it delivers an unblemished image.

    • The non-degraded signal reduces flicker and leads to a clearer picture. HDMI intelligently communicates the highest output resolution with the source device.

    • The HDMI input is fully backward compatible with DVI sources but includes digital audio. HDMI uses HDCP copy protection.

    The picture below shows a HDMI cable:

    The YPbPr is also called component video, is the highest quality interconnection standard for analog video. It is sharper than S-video and composite video. The component connection requires 5 cables, which are 3 video cables (Red, Blue, Green) and 2 audio cables (Red, White).

    The picture below shows a component cable:

    Our site can best be viewed with the latest version of Microsoft Edge, Google Chrome or Firefox.